When supply chains buckle under hurricanes, pandemics, or grid failures, grocery store shelves empty fast. FEMA’s most recent National Household Survey revealed that only 48% of Americans have supplies for a disaster lasting more than two weeks. While a 72-hour emergency kit and a 2-week food supply are essential first steps, a crisis that drags on for months demands more. A survival garden, planted before the emergency, turns your backyard into a renewable food source that no supply chain can take away.
The USDA reports that over 13.8 million U.S. households faced food insecurity in 2022, a stark reminder of how fragile our food system is. Yet the 2023 National Gardening Association survey shows 35% of households already grow some food, a number that could explode as more people pursue food sovereignty. This guide walks you through everything a beginner needs to start a survival garden that cuts grocery dependency and aligns with official preparedness advice from FEMA, the CDC, and the Red Cross.
Why Should You Start a Survival Garden?
A survival garden is a strategic layer in your preparedness plan, not just a hobby. Stockpiling freeze-dried meals is smart, but even the best emergency food kits lack the freshness, enzymes, and morale boost that only live produce provides. The CDC explicitly advises maintaining a nutritious diet during emergencies to support immune function, something canned goods alone cannot achieve.
Beyond nutrition, a garden closes the gap between short-term kits and true long-term resilience. FEMA’s guidance nudges households toward self-sufficiency, recommending that families practice skills like food production. When you grow your own, you reduce the financial drain of restocking commercial emergency food and build a skill that works indefinitely. Our budget emergency preparedness approach includes starting a garden as one of the most cost-effective ways to boost resilience.
You also gain psychological resilience. Tending plants alleviates stress, a documented benefit backed by public health research. In a disaster, the simple act of stepping outside to harvest a fresh tomato can anchor a family’s morale. By integrating a garden with your existing 3-month food supply, you create a robust, layered defense against food shortages.
- Provides fresh vegetables rich in vitamins when store supplies are disrupted
- Reduces reliance on processed emergency food that may contain high sodium and preservatives
- Offers a productive physical activity that eases anxiety and maintains fitness
- Lowers long-term preparedness costs while increasing your household’s independence
What Crops Are Best for a Survival Garden?
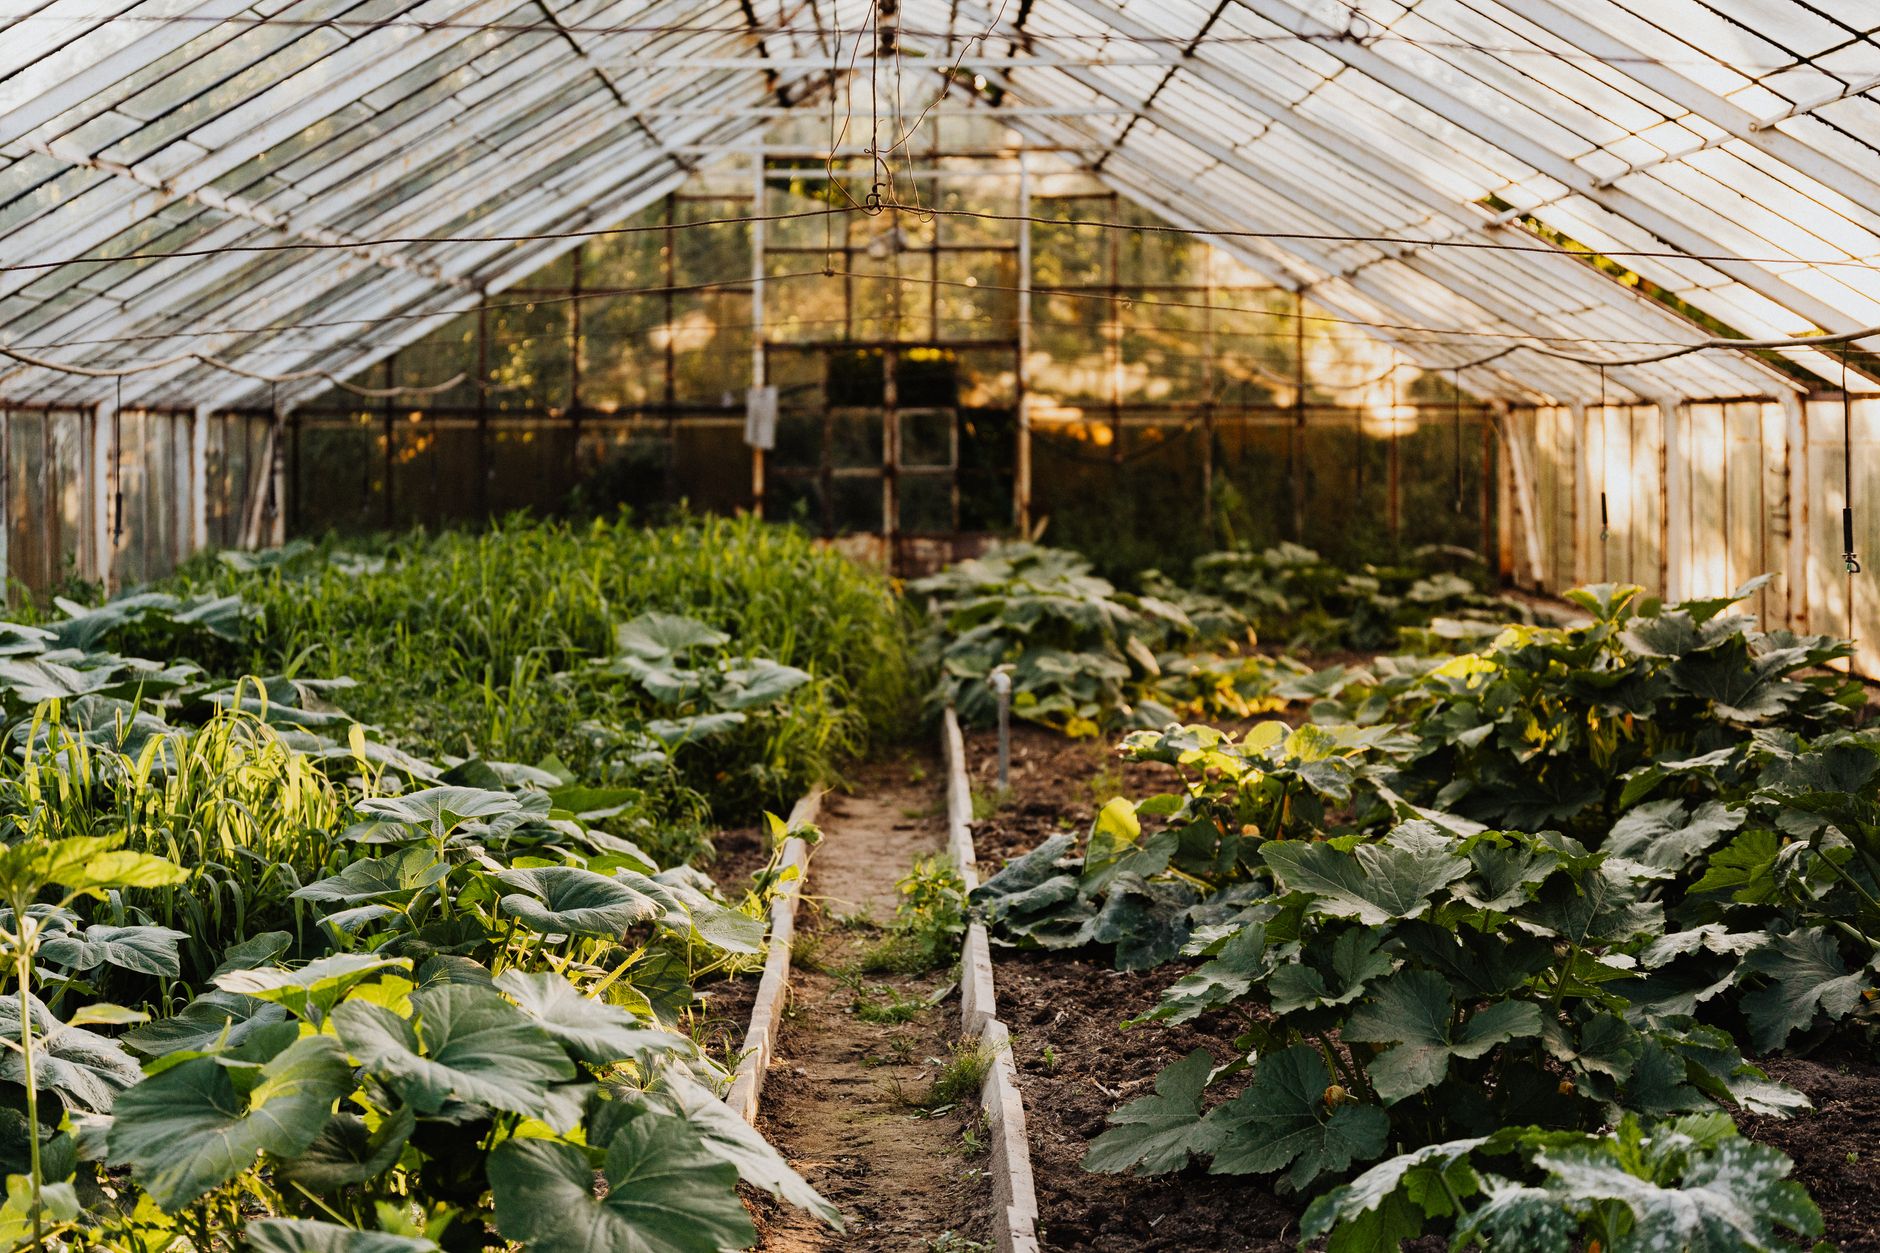
Choose plants that deliver calories, nutrition, and easy storage. Your goal is to grow food that can fill the plates when your 2-week food supply runs dry. Calorie-dense staples should dominate the plot, with nutrient-rich greens and herbs filling the gaps.
Potatoes top the list. A 10-by-10-foot patch can yield over 60 pounds of tubers that store for months in a cool, dark place. Dry beans, such as pinto or navy, provide protein and fix nitrogen in the soil. Winter squash like butternut and acorn keep for up to six months without refrigeration. Kale, spinach, and Swiss chard offer fresh greens even after light frosts, while carrots and beets add calories and root-cellar staying power. For preserving, paste tomatoes like Amish Paste are ideal for canning sauces.
Select open-pollinated, heirloom varieties so you can save seeds and never depend on a seed catalog again. Bush beans, Detroit Dark Red beets, and Waltham butternut squash are beginner-friendly champions. Pair these crops with your 3-month food supply to cover both immediate and long-term needs, and you will eat better than any MRE can offer.
- Russet or Yukon Gold potatoes: 90-120 days, store 4-6 months in a root cellar
- Blue Lake bush beans: 50-60 days, high in protein, easy to dry and store
- Waltham butternut squash: 110 days, stores up to 6 months, dense calories
- Lacinato kale: 60 days, cut-and-come-again greens, frost-tolerant
- Amish Paste tomatoes: 80 days, meaty fruit perfect for canning and sauces
How Do You Plan Your Garden Space?
Light is non-negotiable. Most vegetables demand at least six hours of direct sun daily. Observe your yard throughout the day to map full-sun spots, and avoid shading from fences or trees. If you lack ground space, containers on a sunny patio or balcony can produce substantial harvests. Soil quality comes next. Test your soil’s pH and nutrient levels. Amend heavy clay with compost, and raise beds to improve drainage. Even a 4-by-8-foot raised bed can produce over 100 pounds of food if planted intensively.
Water access is a survival consideration that many new gardeners overlook. Your plot will need consistent moisture, especially during dry spells. Align your garden plan with your emergency water storage and learn water purification methods so you can safely use stored or harvested water. Consider installing a rain barrel or gravity-fed drip system that works without electricity. The Red Cross encourages households to build self-sufficiency skills, and a water-wise garden fits squarely in that framework.
Use the square-foot gardening method to maximize yield: divide beds into one-foot squares and plant crops at optimum spacing. For example, one square can hold 16 carrots or four lettuce plants. This approach minimizes waste and makes weeding manageable. Sketch your layout before you dig, and rotate plant families each year to avoid depleting soil nutrients.
- Identify a spot with 6-8 hours of direct sunlight
- Test soil drainage and pH; aim for a neutral 6.0-7.0 for most vegetables
- Plan water delivery: connect to stored water or set up rain collection
- Start with one or two 4x8-foot raised beds rather than a large in-ground plot
- Map out intensive planting using square-foot spacing to prevent overplanting
What Are the Essential Steps to Plant and Maintain Your Garden?
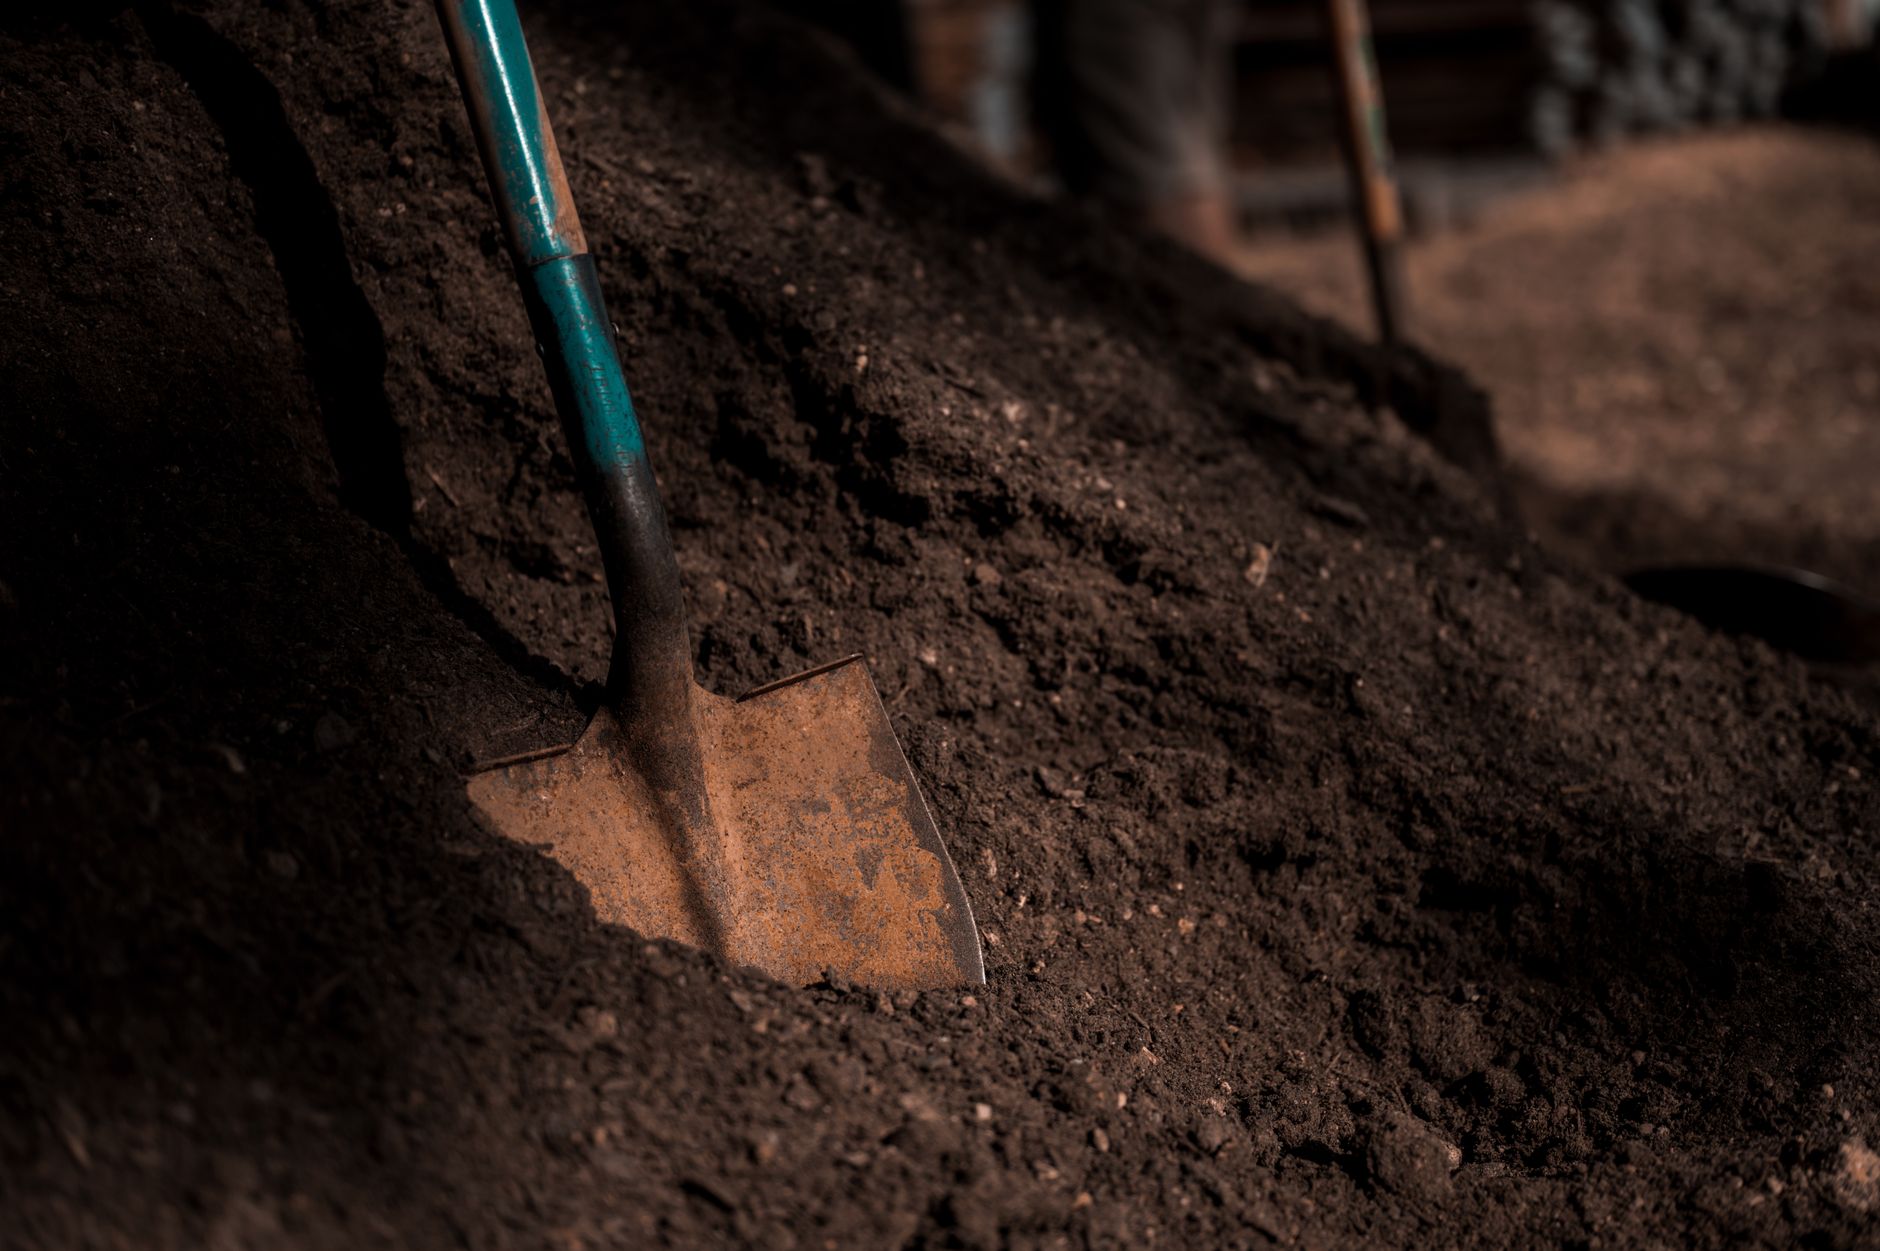
Timing matters. Find your local frost dates and use them to build a planting schedule. Cool-season crops like peas and spinach go in early spring or fall. Warm-season heavyweights like beans and squash wait until after the last frost. Start seeds indoors under shop lights if your season is short, or direct-sow large-seeded varieties like beans and corn. Always harden off transplants to avoid shock.
Consistent care separates a productive garden from a weedy disaster. Mulch heavily with straw or shredded leaves to retain moisture and suppress weeds. Water deeply twice a week rather than sprinkling daily; this encourages deep root growth and drought resistance. According to a National Gardening Association report, a well-maintained 600-square-foot garden can yield up to $600 in produce annually, offsetting grocery costs dramatically. To harness that value in a crisis, stick to a simple weekly routine: check for pests, train climbing plants, and harvest anything that is ready.
Stay organic. In a grid-down scenario, you won’t have access to synthetic chemicals. Use neem oil for aphids, handpick hornworms, and plant marigolds to deter nematodes. Companion planting, like placing basil next to tomatoes, improves flavor and repels insects. The CDC underscores the importance of safe, pesticide-free food during public health emergencies, a principle that aligns perfectly with natural gardening methods.
- Start seeds according to local frost dates, hardening off transplants before moving outside
- Apply 2-3 inches of organic mulch to retain moisture and block weeds
- Water deeply at the base of plants early in the morning to reduce disease
- Scout for pests weekly and use organic controls to protect your food safety
- Feed the soil with compost or aged manure rather than depending on synthetic fertilizers
How Can You Harvest and Preserve Emergency Food?
Harvest at peak ripeness for the best flavor and nutrient content. Leafy greens can be picked as soon as they have enough leaves to sustain regrowth. Root crops like potatoes and carrots store better if you leave them in the ground until the tops die back. For crops that mature all at once, you need a preservation plan. Canning, dehydrating, and fermenting turn a one-week glut into months of pantry staples.
Traditional root cellaring works without electricity. Pack unwashed potatoes, beets, and carrots in damp sand or sawdust inside a cool basement or buried container. Winter squash cures in the sun for a week, then sits on slatted shelves. For fruits and tomatoes, water-bath canning is a safe, low-tech method if you follow tested recipes. Even without a pressure canner, you can preserve high-acid foods like pickles and chutneys. The USDA emergency preparedness guidelines remind us to keep food safe during power outages; having shelf-stable preserved vegetables ensures you won’t lose your harvest if the freezer fails.
If you prefer a backup to home canning, consider adding some commercial freeze-dried foods to your long-term pantry. These products have a 25-year shelf life and can fill any nutrition gaps during winter. But fresh harvests turned into jars of salsa or bags of dehydrated kale give you variety and self-reliance that no store-bought bucket can match.
- Root cellar potatoes, carrots, and beets in damp sand for 4-6 months of storage
- Cure pumpkins and winter squash in the sun for 7-10 days, then store in a dry, cool room
- Water-bath can high-acid foods like tomatoes, pickles, and fruit preserves safely without a pressure canner
- Dehydrate herbs, greens, and sliced vegetables for lightweight, long-term storage
- Ferment cabbage into sauerkraut or kimchi, which preserves gut-healthy probiotics for months
What Common Mistakes Should Beginners Avoid?
Enthusiasm often leads new gardeners to plant more than they can maintain. A survey by the National Gardening Association found that 45% of first-time vegetable gardeners quit after the initial year because they felt overwhelmed. Start with a manageable plot, maybe two raised beds, and add more each season. Overambitious gardens become weed-choked and discouraging fast.
Ignoring soil health is another trap. Plants grown in depleted soil yield poorly and attract pests. Invest time in building rich, living soil with compost, aged manure, and cover crops. Also, planning only for summer leaves you with empty beds in the shoulder seasons. Extend your harvest by planting cold-hardy crops like mache, arugula, and winter rye that produce through fall and early spring.
Finally, don’t forget seed saving. Hybrid varieties won’t reproduce true to type, so stick with open-pollinated heirlooms. Once you learn to clean and store seeds, you own your food supply forever. Pair this with a solid water strategy (covered in our water purification guide) and you’ll sidestep the pitfalls that trap most beginners.
- Start small: a 4x8-foot bed is enough to learn without burning out
- Test and amend your soil before planting, never skip this step
- Plan for succession planting to keep beds productive in spring, summer, and fall
- Use heirloom seeds and save them to build a self-sustaining seed bank
- Don’t rely on rainfall alone, have a backup water source as part of your preparedness plan
Frequently Asked Questions
Do I need a large yard to start a survival garden?
No, you can grow a surprising amount of food in containers, vertical planters, or a small raised bed. Many high-yield crops thrive in tight spaces when given enough sun and water.
What if I have a black thumb?
Start with forgiving crops like lettuce, radishes, and bush beans. These germinate quickly and need minimal care. Focus on soil health and consistent watering, and your success rate will improve fast.
How long until I can harvest food?
Fast crops like radishes and salad greens can be ready in 30 days, while staples like potatoes and winter squash need 90 to 120 days. Stagger your plantings so you always have something to harvest.
Can a survival garden really feed my family?
Alone, a garden may not meet all calorie needs, but a well-planned 200-square-foot plot can provide 20% or more of a family’s vegetable requirements, greatly reducing reliance on stored food.
Is it safe to use stored emergency water on my garden?
Yes, properly stored water is safe for plants. If you use untreated rainwater or untreated stored water, avoid splashing soil onto edible parts and wash produce thoroughly before eating.
How do I protect my garden in a grid-down scenario?
Use physical barriers like fencing and row covers, practice companion planting to repel pests, and rely on manual removal and organic neem oil sprays. Community vigilance also helps deter theft.
What Should You Remember?
- Start with calorie-dense crops like potatoes, beans, and winter squash to maximize nutritional and energy value.
- Plan your water source along with emergency water storage and purification to sustain the garden year-round.
- Layer your garden with stored food supplies. Use it to extend a 2-week food supply or 3-month food supply.
- Preserve your harvest through canning, dehydrating, or root cellaring so surplus food lasts beyond the growing season.
- Begin small and expand gradually. A 10x10-foot bed is enough to learn the basics without becoming overwhelmed.
- Follow official preparedness guidelines from FEMA and the CDC that stress self-sufficiency skills like food production.
- Save heirloom seeds from your best plants so you never have to buy seeds again and can maintain a truly independent food supply.
This article is for general information only. Emergency preparedness involves real safety risk — always consult official sources (local authorities, CDC, FEMA) and verify gear before relying on it.